You can configure a discount to require the restaurant employee to select a discount reason. A discount reason provides additional context for the applied discount.
For example, you might configure a general 5% discount that can be used for different reasons, such as in response to a customer complaint or as an employee discount.
You set up a central list of discount reasons that can be assigned to any discount. In the discount configuration, you select the specific reasons that can be used with that discount.
In Toast Web, you use the Discount and Food Waste Reasons page to set up the list of discount reasons that can be assigned to discounts.
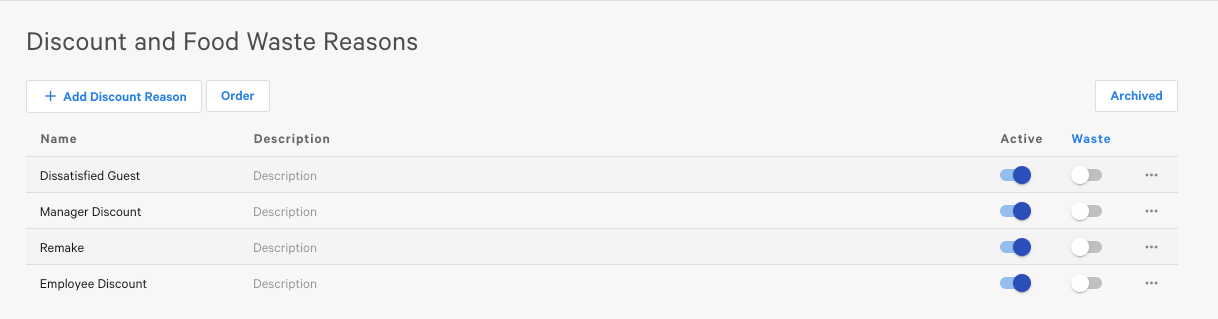
To display the Discount and Food Waste Reasons page, select Finance > Related > Settings > Discount & food waste reasons > Discount and Food Waste Reasons page.
For each discount reason you provide a name and, optionally, a description.
To edit the discount name or description, click the current value. You can then edit the value.
To make a discount reason inactive, slide the Active toggle to the left. To make an inactive discount reason active, slide the Active toggle to the right.
To archive a discount reason, so that it is no longer available, click the ... icon, then click Archive.
To view the list of archived discount reasons, click Archived. To return to the Discount Reasons list, click Back to Discount Reasons.
On the archived discounts list, to unarchive a discount reason, click the ... icon, then click Unarchive.
The discount reasons configuration for a discount is in the Advanced Settings section of the discount configuration page.
You assign a list of reasons to the discount, then determine whether to prompt for and require a discount reason. If you require a discount reason, you can also require an additional comment.
To configure discount reasons for a discount
-
Assign discount reasons to the discount.
-
Click Assign Reason.
-
On the Discount Reasons list, select the check box for each reason to assign to the discount.
-
Click Save.
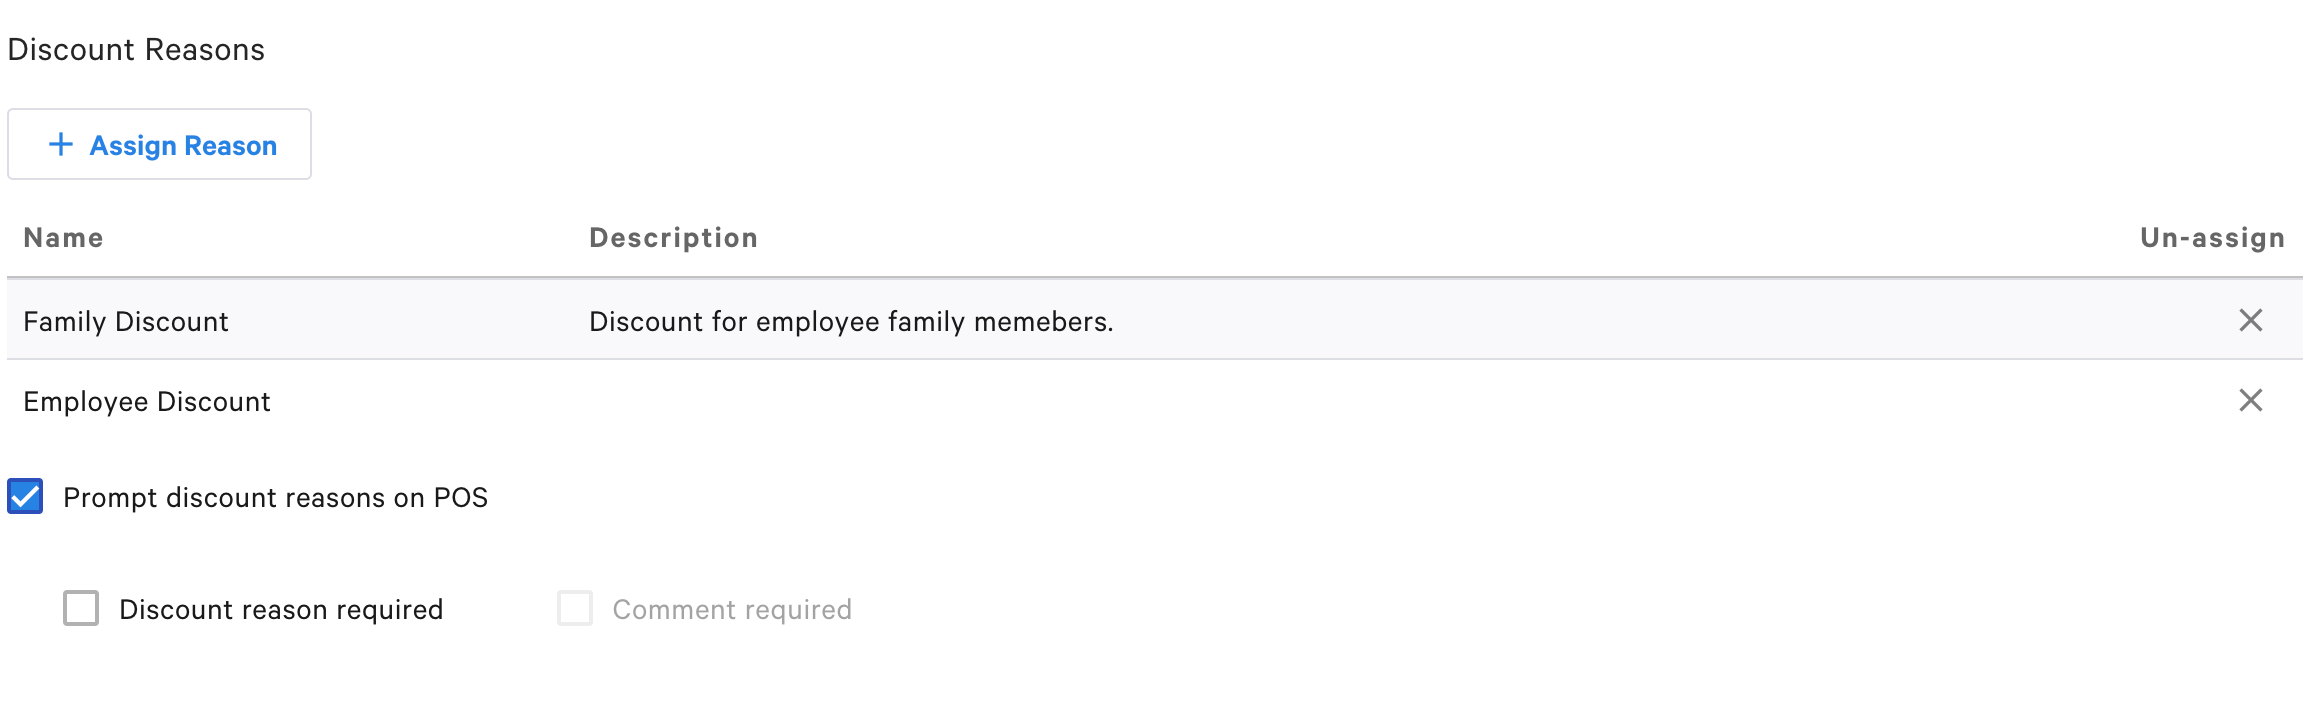
The selected discount reasons are displayed on the discount configuration page. To remove a discount reason from the list, click the x icon in the Un-assign column.
-
-
When you assign discount reasons to a discount, the Prompt discount reasons on POS check box is checked by default.
When Prompt discount reasons on POS is checked, then when the restaurant employee applies the discount, they are prompted to select one of the assigned discount reasons. To not prompt for a discount reason, uncheck the check box.
-
When you prompt for a discount reason, you can also choose whether to require a discount reason. To require the restaurant employee to select a discount reason, check the Discount reason required check box.
-
If you require a discount reason, then you can also require an additional comment. The comment can be used to provide more explanation of why the discount was applied.
To require a comment, check the Comment required check box.